To sell almost any product, you need to present it effectively in photos.
Research by eBay, the largest marketplace, has shown that high-quality photographs directly affect the likelihood of a product selling, since in online shopping the photo presents the product first!
Therefore, please take great care with your product photographs!
So, please:
1. Take or crop photos so that the system receives square or landscape photographs. Marketplaces automatically crop vertical photos incorrectly to their square or horizontal frame, so the product may not be fully visible because of this.
2. Minimum allowable photo size – 500 pixels, but we recommend taking photos with a resolution of 2000 pixels on the longest side, and a file size up to 7 MB.
3. Very important! Please add at least 5 photos of the product from DIFFERENT angles. For example, the product straight on, from the side, from below, from above, in use, close-up of details. If there are fittings, clasps, labels etc – be sure to photograph them as well.
4. Save files in one of the acceptable formats: JPEG, PNG, GIF, TIFF, BMP, WEBP, HEIC.
5. Professional photos greatly increase the chances of selling the product.
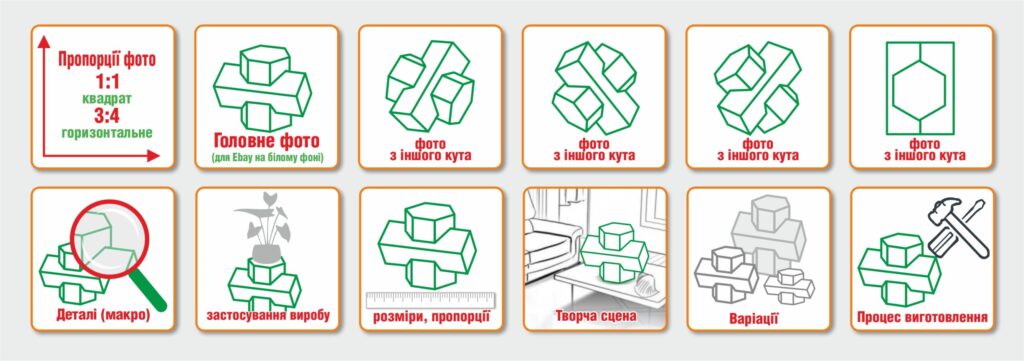
Recommendations for taking photographs
– Photograph the product in natural daylight (for example, from a window). Unfortunately, at home it is difficult to provide good artificial lighting – photos taken under artificial lighting are usually dark, and the objects in them are hard to discern in fine detail.
- Use a uniform background to showcase your product effectively.
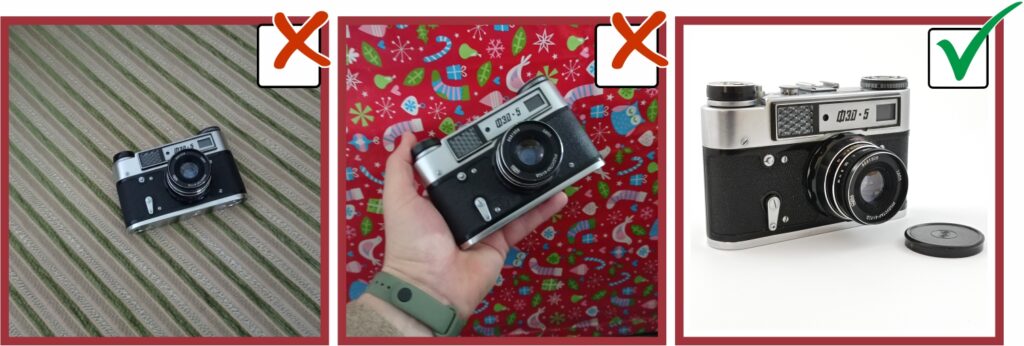
– By the way, a windowsill (usually white) is a good, even background for your product. Or choose another even surface, preferably solid-colored and free of extraneous objects (except for a ruler to understand the dimensions of the object being photographed) that may appear in the frame.
– Also pay attention to the colors of the product and the background – the background should not blend with the product. After all, our task is to present the item well. It should stand out.
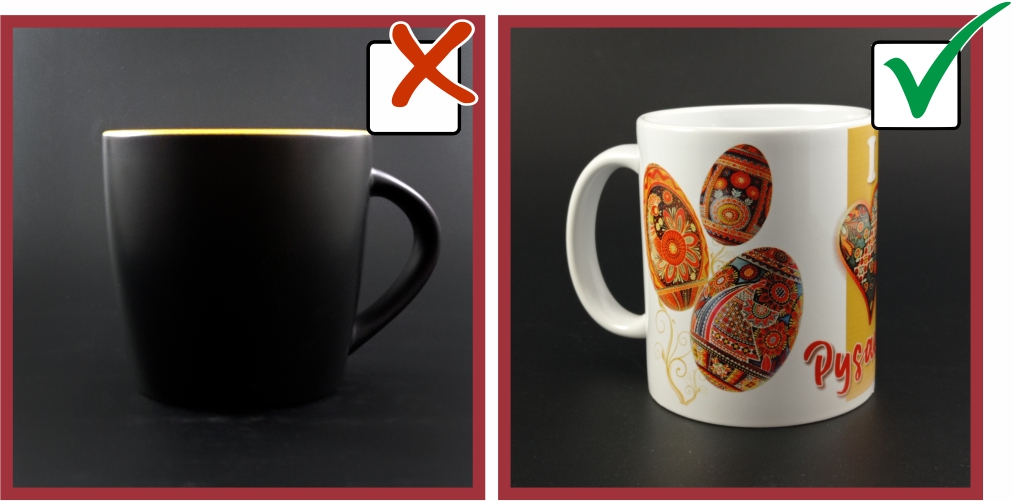
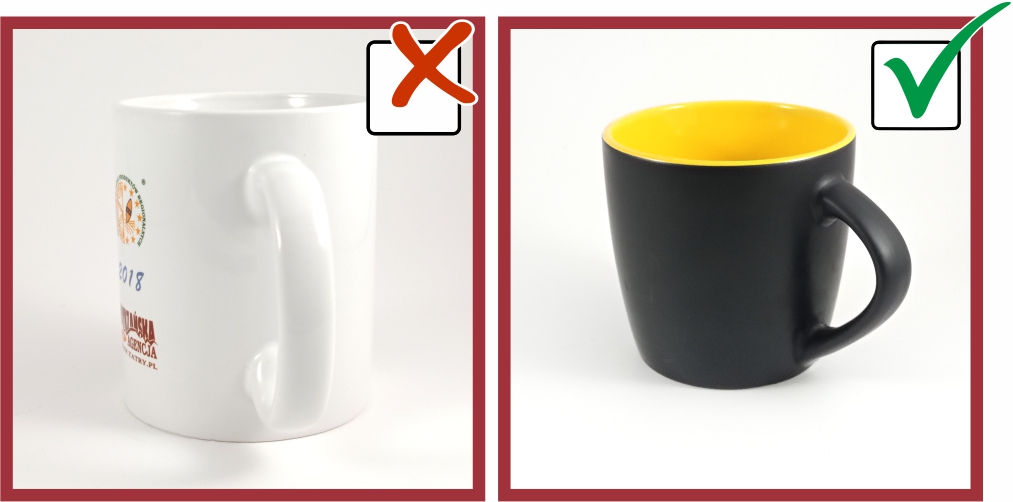
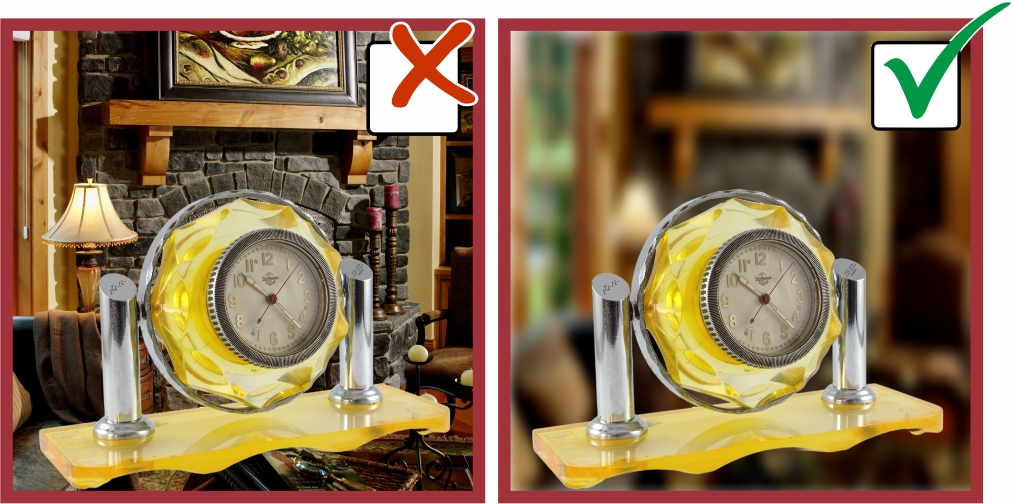
– If you want to submit a photo in an interior, make sure the background does not distract from the product itself. If it turned out too bright and distracting, perhaps it should be blurred during photo editing. The product itself should be in focus!
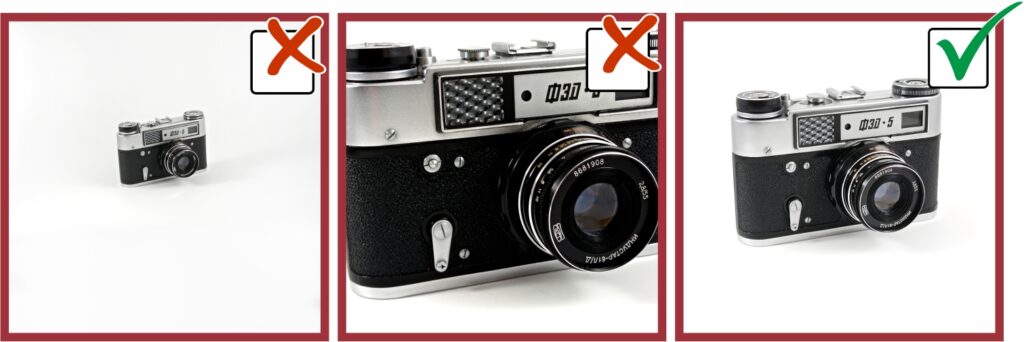
– Build the composition so that your product does not look too small or too large in the frame. And, importantly, that in the overall photo the edges of the product are not cropped! A basic recommendation is for the item to occupy about 80% of the space in the frame.
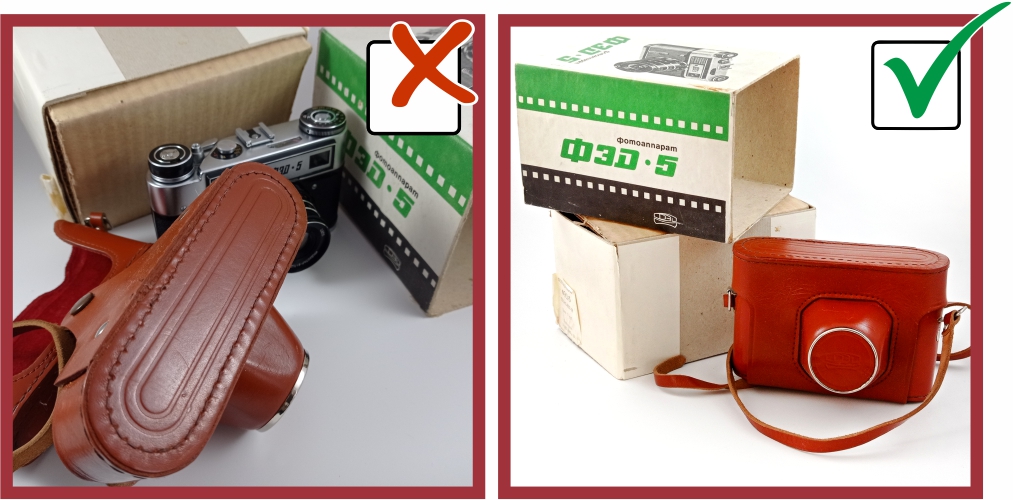
– If you want to offer several products for sale at once, you should take separate photos for each of them. If a complete set of several items is offered for sale at the same time, take a general photo with all the items, and then a photo in which each item from the set is clearly visible separately.
- General photos should clearly show what is included in the lot, but should not be chaotic and overloaded. Before taking photos of the entire set, think about how best to arrange the elements and view them through the camera.
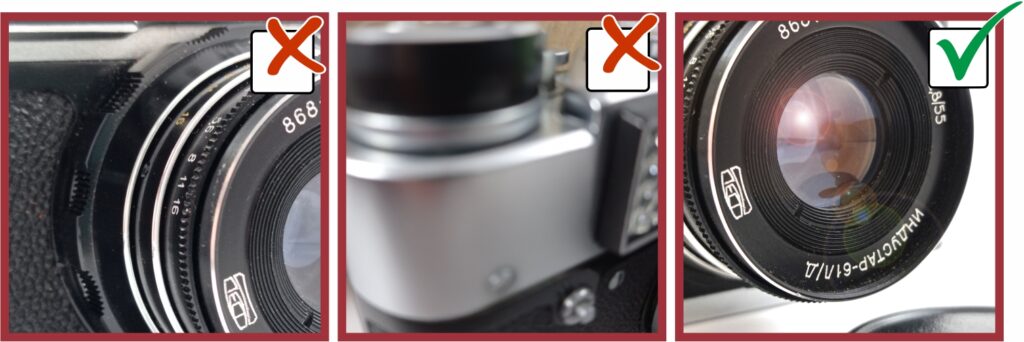
– Take clear photos of the product from all its sides with the maximum level of detail available to your photography equipment (for example, by zooming with your phone); it is important to create as complete an impression as possible of the item you are offering for sale.
- Macro photos should be in focus and show the most important details of your product.
– To help the buyer clearly gauge the product’s dimensions, place a ruler in the frame next to it.
- If there are any interesting and/or important details on the product, take a separate photo of them. For example, inscription, hallmark, chip, crack (other damages), etc.
How to photograph products – checklist
- Shoot in natural daylight (for example, near a window) — it makes details clearer than under weak artificial lighting.
- Use a uniform background: a white windowsill or a smooth, solid surface free of clutter.
- Make sure the background does not blend with the product color — the item should stand out clearly.
- If you shoot indoors, don’t let the background distract; blur it in post-processing if needed, keeping the product in focus.
- Build the composition so that the product occupies about 80% of the frame, and the edges of the item are not cropped.
Sets, details and scales
- If you are selling a set, take a general photo of all elements, as well as separate photos of each item.
- The overall shot should clearly show what’s included in the lot, but not be chaotic and cluttered.
- Take the product from all sides in as much detail as possible, using your phone’s zoom.
- Add macro photos of important elements: inscriptions, marks, logos, material texture, small details.
- To show the real size, place a ruler or another understandable scale item next to it.
- Photograph all defects separately: chips, cracks, wear, or other damage.
When to order a professional photo shoot
Professional photos from a photographer or studio noticeably increase listings conversions, especially for complex, small, or expensive products.
If you are not confident in the quality of your shots, it’s better to invest once in professional shooting of key items, and then rely on these samples when you shoot other products yourself.
